Welcome to Guangzhou RONIKI Beauty Supplies Co.,Ltd
Guangzhou RONIKI Beauty Supplies Co.,Ltd
Professional in the line of UV/LED nail gel &
nail accessories factory


Guangzhou RONIKI Beauty Supplies Co.,Ltd
Professional in the line of UV/LED nail gel &
nail accessories factory

95 2023-09-15
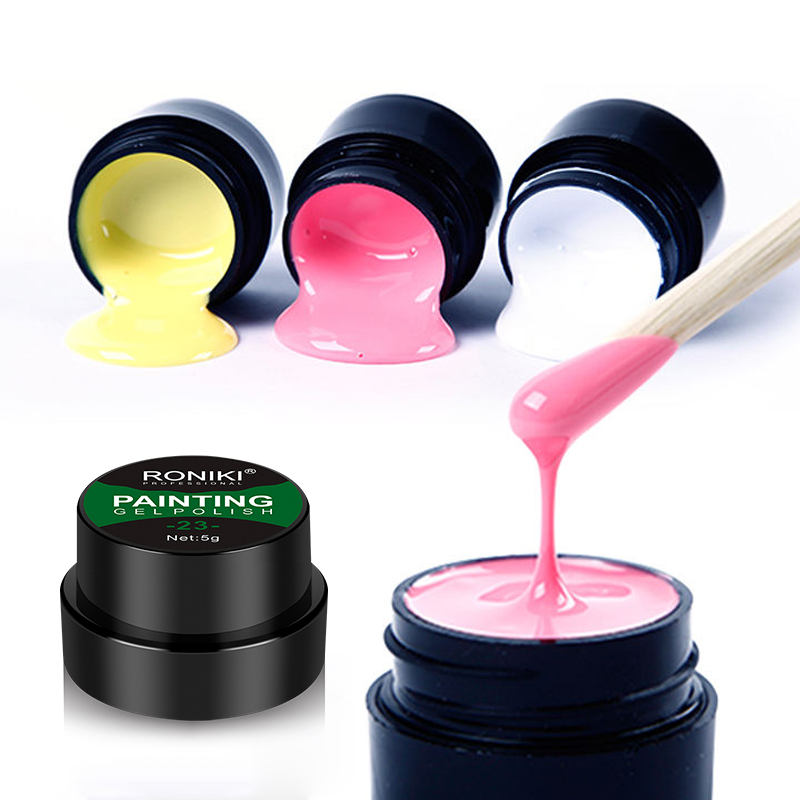
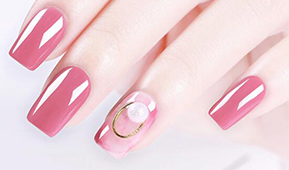
Nail art is a captivating form of self-expression, and using gel liners on your nails can elevate your creativity and style. Whether you're a professional nail artist or a DIY enthusiast, mastering the technique of applying gel liner is a valuable skill. In this comprehensive guide, we will take you through the step-by-step process, ensuring your nails become a canvas for stunning, unique designs.
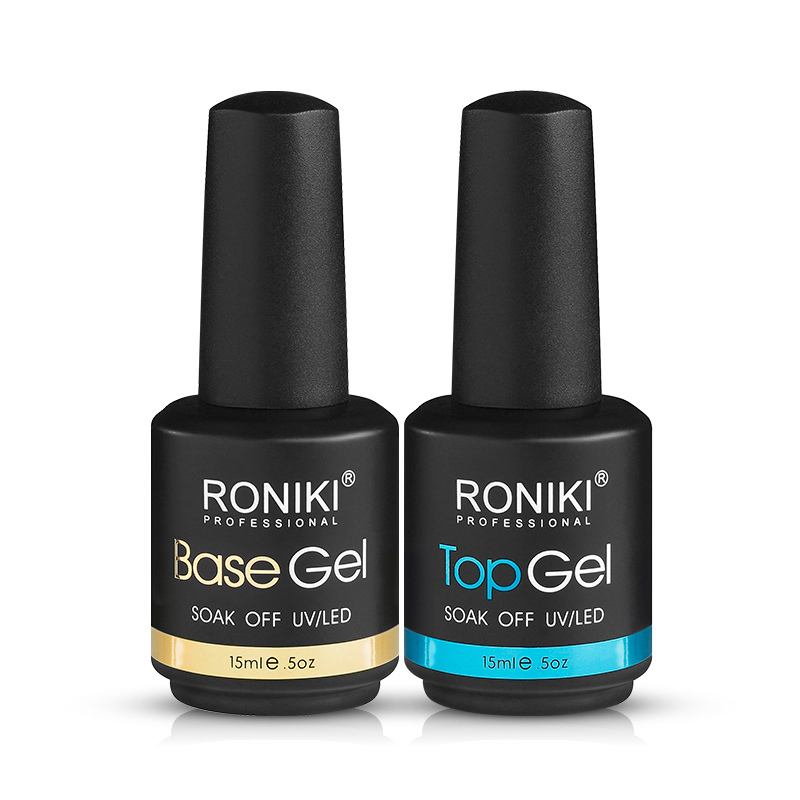
Before embarking on your gel liner nail art journey, it's essential to gather all the necessary supplies. Here's a checklist to ensure you're well-prepared:
Achieving a flawless gel liner design starts with nail preparation:
Now, let's dive into the main process of applying gel liner to your nails:
To ensure your gel liner nail art lasts, follow these final steps:
Maintaining your gel liner nail art is crucial for long-lasting beauty. Avoid using your nails as tools, and wear gloves when doing household chores. When it's time for a change, remove the gel liner with acetone and cotton pads. Soak your nails, then gently push off the softened gel liner with a cuticle stick.
Using gel liner on your nails can transform them into stunning works of art. With the right supplies, preparation, and technique, you can create intricate and eye-catching designs. Don't be afraid to experiment and let your creativity flow. Remember to apply a topcoat for protection and longevity.
For the best results, consider contacting a reputable nail art supplier for high-quality gel liner products and tools. Whether you're a beginner or an experienced nail artist, having access to top-notch supplies can make a significant difference in your nail art journey. Happy designing!
For any questions or to find a reliable nail art supplier, please feel free to contact us. We're here to support your nail art endeavors.
If you're committed to keeping your real nails, the choice is between regular and gel nail polish...
Nail polish enthusiasts often find themselves exploring various products to create unique and per...
 86-02086388467
 rnkgel@gzluoliqi.com